Master First PHP Project: Building a Secure Contact Form
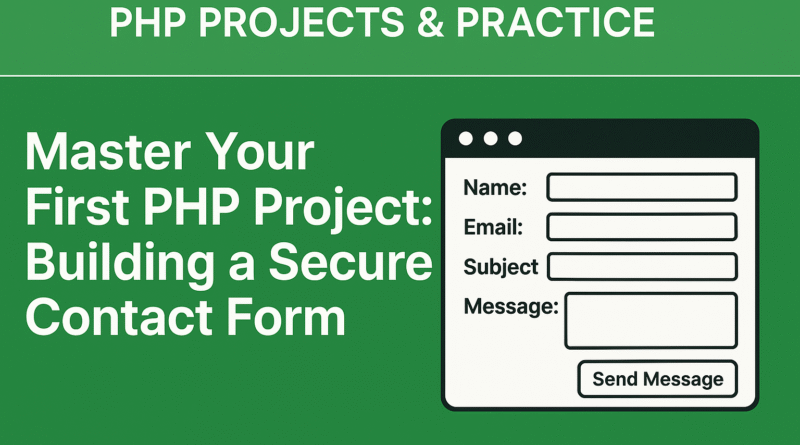
Master Your First PHP Project: Building a Secure Contact Form
Are you just starting your journey into web development with PHP? Feeling a little overwhelmed by all the possibilities? Don’t worry, you’re in the right place! One of the most fundamental and rewarding projects for any beginner is creating a functional contact form. It’s not just a great way to practice core PHP concepts, but it’s also an essential feature for almost any website.
In this blog post, we’ll walk you through the process of building a robust and secure PHP contact form. We’ll keep it simple, straightforward, and packed with practical tips.
Why a Contact Form is Your Perfect PHP Practice Project
Building a contact form touches upon several crucial aspects of web development:
- HTML Structure: You’ll create the frontend interface where users input their information.
- PHP Processing: You’ll learn how PHP handles submitted data from the form.
- Form Validation: Crucial for security and data integrity, you’ll ensure users enter valid information.
- Email Sending: The ultimate goal – getting those messages delivered to your inbox!
- Security Best Practices: Protecting your form from common vulnerabilities.
It’s a complete mini-application that demonstrates the power of PHP in a real-world scenario.
Essential Components of Your PHP Contact Form
Let’s break down what you’ll need:
index.html(orcontact.html): This file will contain the HTML structure for your form. It will include fields like Name, Email, Subject, and Message.process_form.php(orsend_email.php): This is where the PHP magic happens. It will receive the form data, validate it, and send the email.- Basic CSS (Optional but Recommended): To make your form look presentable!
High-Level Steps to Build Your Contact Form
Step 1: Design Your HTML Form
Start with a clean HTML structure. Use appropriate input types (e.g., type="text", type="email", textarea) and make sure your form has a method="POST" attribute. Give your input fields meaningful name attributes – these are what PHP will use to access the data.
HTML
<form action="process_form.php" method="POST">
    <label for="name">Your Name:</label>
    <input type="text" id="name" name="name" required>

    <label for="email">Your Email:</label>
    <input type="email" id="email" name="email" required>

    <label for="subject">Subject:</label>
    <input type="text" id="subject" name="subject" required>

    <label for="message">Your Message:</label>
    <textarea id="message" name="message" rows="5" required></textarea>

    <button type="submit">Send Message</button>
</form>
Step 2: Handle Form Submission with PHP
In your process_form.php file, you’ll access the submitted data using the $_POST superglobal array.
PHP
// process_form.php
<?php
if ($_SERVER["REQUEST_METHOD"] == "POST") {
    $name = $_POST['name'];
    $email = $_POST['email'];
    $subject = $_POST['subject'];
    $message = $_POST['message'];

    // More processing and validation will go here!
}
?>
Step 3: Implement Robust Form Validation
This is where security comes in. Never trust user input!
- Empty Field Checks: Ensure all required fields are filled.
- Email Validation: Use
filter_var($email, FILTER_VALIDATE_EMAIL)to check for a valid email format. - Sanitization: Use
htmlspecialchars()to prevent XSS (Cross-Site Scripting) attacks by converting special characters to HTML entities.
PHP
// process_form.php (inside the if statement)
    // Basic validation
    if (empty($name) || empty($email) || empty($subject) || empty($message)) {
        echo "Please fill in all fields.";
        exit;
    }

    if (!filter_var($email, FILTER_VALIDATE_EMAIL)) {
        echo "Invalid email format.";
        exit;
    }

    // Sanitize inputs
    $name = htmlspecialchars($name);
    $email = htmlspecialchars($email);
    $subject = htmlspecialchars($subject);
    $message = htmlspecialchars($message);
Step 4: Send the Email
PHP’s mail() function is your go-to for sending emails. However, for more robust email sending (especially for production environments), consider using a dedicated library like PHPMailer or SwiftMailer, which handle complex email headers, attachments, and SMTP authentication much better. For a simple practice project, mail() is sufficient.
PHP
// process_form.php (after validation and sanitization)
    $to = "your_email@example.com"; // Change this to your actual email address
    $headers = "From: " . $name . " <" . $email . ">\r\n";
    $headers .= "Reply-To: " . $email . "\r\n";
    $headers .= "MIME-Version: 1.0\r\n";
    $headers .= "Content-Type: text/html; charset=ISO-8859-1\r\n";

    $email_body = "<h2>New Contact Message</h2>";
    $email_body .= "<p><strong>Name:</strong> " . $name . "</p>";
    $email_body .= "<p><strong>Email:</strong> " . $email . "</p>";
    $email_body .= "<p><strong>Subject:</strong> " . $subject . "</p>";
    $email_body .= "<p><strong>Message:</strong><br>" . nl2br($message) . "</p>";

    if (mail($to, $subject, $email_body, $headers)) {
        echo "Thank you for your message! We will get back to you shortly.";
    } else {
        echo "Oops! Something went wrong. Please try again later.";
    }
Step 5: Provide User Feedback
After the form is submitted, always provide feedback to the user, whether the submission was successful or if there were errors. Redirecting to a “thank you” page is a good user experience.
Advanced Considerations for Your PHP Contact Form
As you get more comfortable, explore these enhancements:
- AJAX Submission: For a smoother user experience, submit the form without a full page reload.
- CAPTCHA Integration: Protect against spam bots (e.g., Google reCAPTCHA).
- Database Storage: Store messages in a database in addition to sending emails.
- SMTP Configuration: Use a dedicated SMTP server for reliable email delivery, especially if you’re experiencing issues with the
mail()function.
Conclusion: Your First Step Towards PHP Mastery
Building a contact form is an excellent practical exercise that solidifies your understanding of fundamental PHP concepts, web forms, and server-side scripting. It’s a common requirement for website development, demonstrating backend processing skills. By following these steps and focusing on secure coding practices and user experience, you’ll create a valuable asset for any website.
So, roll up your sleeves, start coding, and watch your PHP skills grow! This project is just the beginning of your exciting journey in web development.


